
The Meta Quest 2 headset is a bestseller in the virtual reality market, and now that the Quest Pro is available at a great discount, it might be the perfect time to explore cutting-edge VR technology before Meta releases the next successor to the Quest. Neither the Quest 2 nor the Pro requires a gaming PC with VR support for full gameplay, thanks to the powerful mobile chipset they contain. However, a smartphone is needed for using remote Quest features and social networks. Fortunately, the official Meta Quest mobile app makes it very easy to connect your existing Android or iOS device to the headset. This guide outlines how to connect Meta Quest 2 and Pro to your phone, with detailed step-by-step instructions for both Android and iPhone devices.
Pairing Meta Quest 2 / Pro with Your Phone (Step by Step)
The Meta Quest app is what we’ll use to connect the Quest 2 or Pro headset to your phone. Users with an Android device can access the app from the Play Store. Likewise, it is accessible on the App Store for iPhone and iPad users. Clicking on any of the links will lead you to the download page. All you need to do is click Install or Get. If you already have a Facebook or Meta account, follow these steps to connect your Quest 2 or Pro to your Android phone:
• Put on the Quest 2 or Pro headset and press the Quest/Oculus button on the right-hand side of the controller.
• Select the QS panel (battery, Wi-Fi, time) on the left side of the appearing toolbar.
• Tap “Settings” at the top of the floating window, then select the “System” tile.
• Scroll down the sidebar and select the “About” tab. Note the five-digit pairing code in the “Device” section.
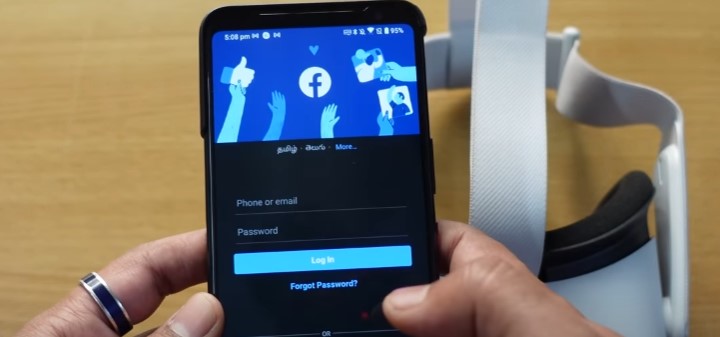
• Download the Meta Quest app from your phone’s digital storefront, then launch it from the main screen. Continue to log in using your Facebook or Meta account credentials.
• Once you’re on the app’s overview screen, tap the Menu on the right side of the bottom navigation bar.
• Select Devices from the list of options, then tap where it says Connect new headset.
• Depending on which VR headset you have, choose Quest 2 or Quest Pro from the list and tap Continue.
• Enter the five-digit pairing code you noted earlier and wait a few seconds for the Quest headset to pair with your phone.
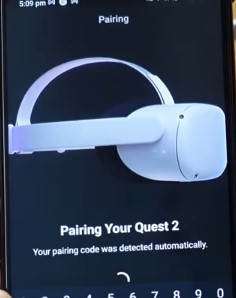
You might not even need to input the pairing code if your devices are connected to the same network. If the pairing process fails, make sure the Quest 2 or Pro device is powered on and near your phone. For good measure, try putting on the headset. Whether you have an Android or iOS device, the Meta Quest app looks and works the same on both platforms. This means the steps to connect the Quest 2 or Pro headset to an iPhone are exactly as outlined above. If you encounter difficulties connecting the Quest to an iPhone (or iPad), turn on Bluetooth on your device and try again. You can do this by opening Control Center on your Apple device and tapping the Bluetooth icon.
Benefits of Pairing Meta Quest 2 / Pro with Your Phone
Pairing your Meta Quest 2 or Quest Pro headset with your phone offers several advantages. This includes setting up your Quest headset, purchasing and remotely installing apps and games from the Quest Store, checking your friends list, viewing your library of VR videos and screenshots, and more.
When you connect your Quest headset to your phone, you can mirror the VR display on the screen of your phone or tablet. This allows someone outside of the virtual environment to see what you’re seeing, which is especially useful for sharing VR experiences with others.
If you have a Smart TV or streaming media player that supports casting, tap the Cast icon (controller with Wi-Fi waves) in the top right corner and select your television device from the list to display the VR stream on a larger screen. For this to work, your devices must be connected to the same home network.
Quest 2 and Pro allow you to share screenshots directly from the virtual environment. However, your options are limited to Facebook and Messenger. On the other hand, the Meta Quest app allows you to record gameplay directly to your smartphone and share clips with friends on your preferred social networks or messaging apps.
If you want to set up parental controls on your Quest, connecting it to your phone is necessary. Parents can invite their teens through the Meta Quest app (both sides require a Meta or FB account) to monitor their actions in virtual reality, manage the apps and games they can access, and customize other settings.
Finally, you’ll need the Meta Quest mobile app to pair the controllers with your Quest 2 or Pro headset, making it necessary to connect the headset to your phone.
As for connecting the controllers to your headset, go to the app menu > Devices tab, tap “Controller” in the “Headset Settings” section, and select “Pair new controller.” Then you can follow the on-screen instructions.
Game on!
As you can see, connecting Meta Quest 2 and Pro to your phone is very easy with the Meta Quest companion mobile app. However, it’s also worth noting the minimum app requirements, which are 5.0 Lollipop or higher for Android devices and iOS/iPadOS 12.4 or later for iPhones and iPads.
The app won’t appear in the Play Store or App Store on an unsupported OS version. Therefore, we recommend checking for software updates on your phone or tablet along with your Quest 2 or Pro headset. We also advise using the latest version of the Meta Quest app for easier pairing.
If you want to connect Quest 2 or Quest Pro to a Windows computer to play PCVR games via Link (wired) or Air Link (wireless), visit meta.com/quest/setup and download the Oculus desktop app. Like with the mobile app, setting up Air Link to work with PCVR without tethering requires your headset and computer to be connected to the same home network.
